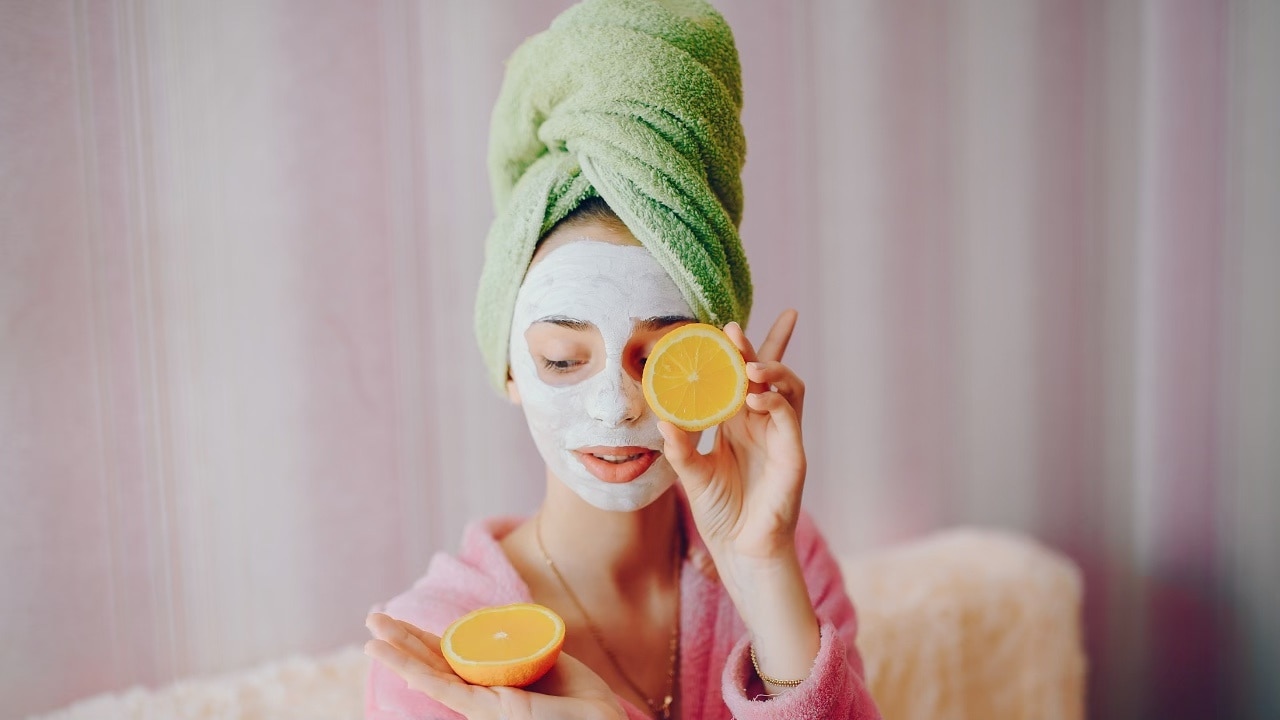
Keep reading to know...
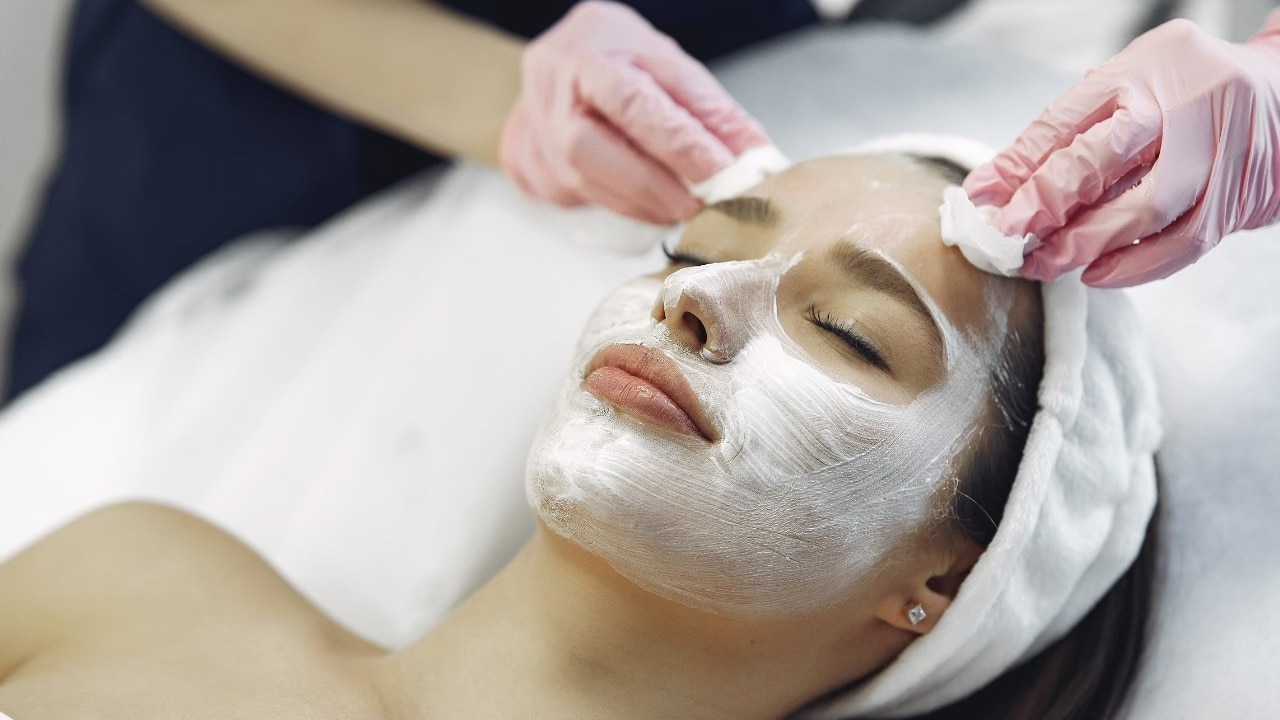
While following a skin care routine religiously is of utmost importance, it is not enough. Combining DIY homemade face masks to your daily skin care regimen can make all the difference in rejuvenating your skin and reviving its natural glow.
Why Choose a Homemade Face Mask for Glowing Skin?
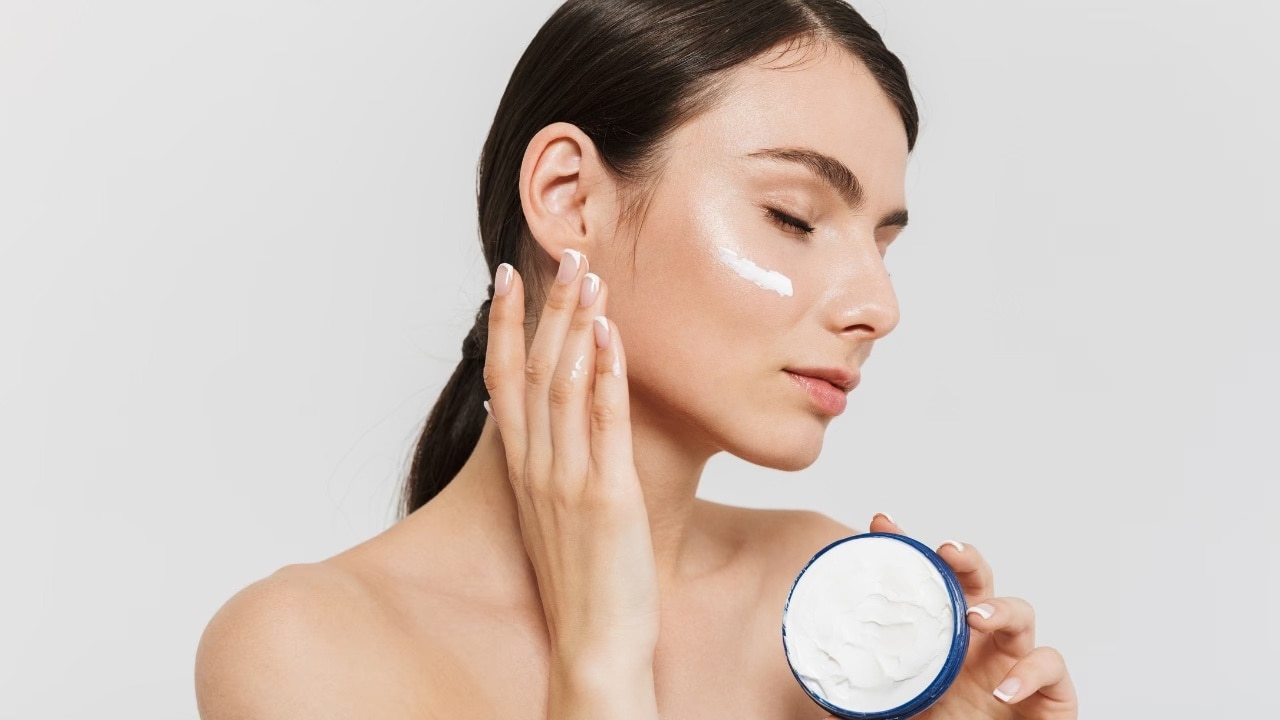
A regular skincare regimen is important, but sometimes it needs a boost. Enter the magic of DIY homemade face masks. These natural treatments are the secret weapon to achieve your goal of radiant, glowing skin. You may not always have the time for luxurious facial treatments. That’s when DIY homemade face masks come to the rescue. Preparing face mask recipes at home is not only convenient and economical but also healthy and nutritious. Your skin loves natural ingredients just as much as your body. Therefore, it’s important that you pamper your skin with basic ingredients from your kitchen at least once a week. You don’t have to necessarily opt for elaborate recipes, a one-ingredient recipe can also do wonders to your skin.
Treating your skin to a simple, homemade mask once a week can make a noticeable difference. You don't need complicated recipes; even a single ingredient can work wonders.
8 DIY Face Masks for Clear, Glowing Skin
Here are eight simple yet effective DIY face masks you can whip up in your kitchen for clear, radiant skin:
1. Soothing Aloe Vera Homemade Face Mask for Glowing Skin
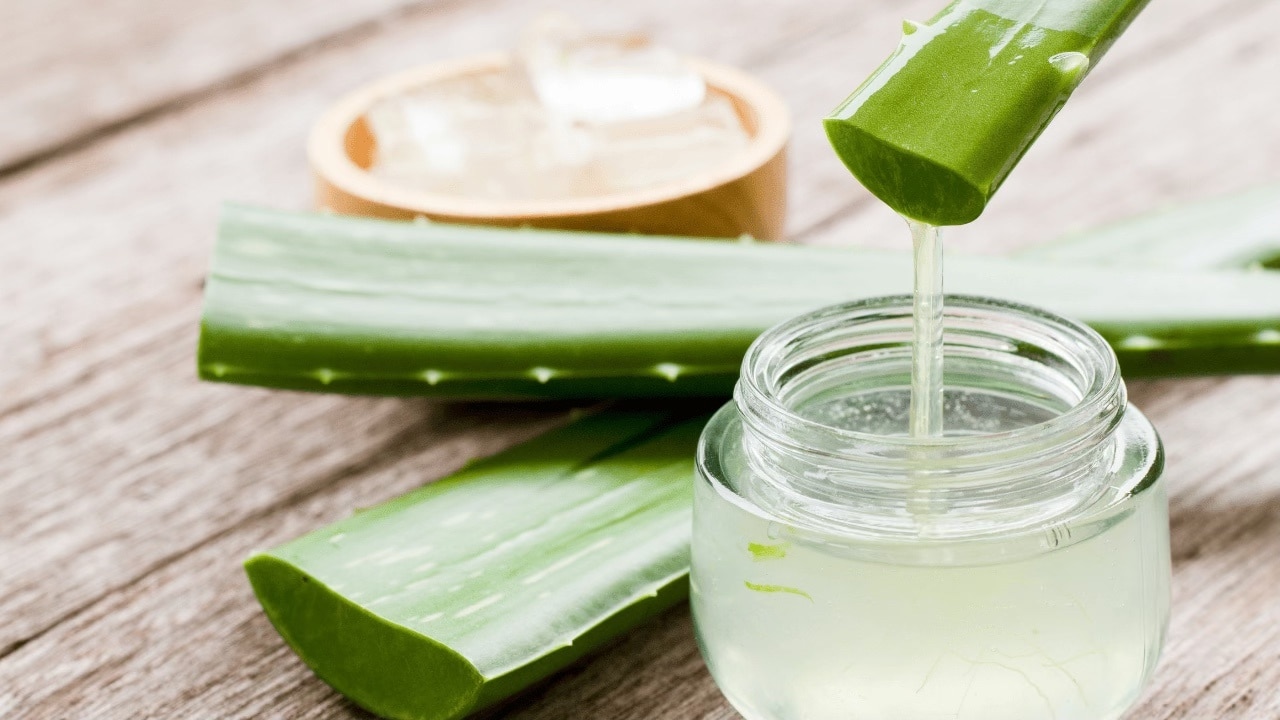
This is an easy yet effective homemade face pack for glowing skin. Aloe vera is packed with beneficial properties. Its gel consists of vitamins, minerals, and antioxidants, which calm irritation, minimise inflammation, and moisturise the complexion. This mask is particularly beneficial for sunburn relief or for calming sensitive skin. To make this mask, simply remove fresh aloe vera gel from a leaf and apply it directly to your face. You could also use store-bought aloe vera gel. Leave it on for 15-20 minutes before washing off with cool water. For an additional boost, you can combine the gel with a teaspoon of honey.
2. Hydrating Honey and Egg Mask for a Natural Glow
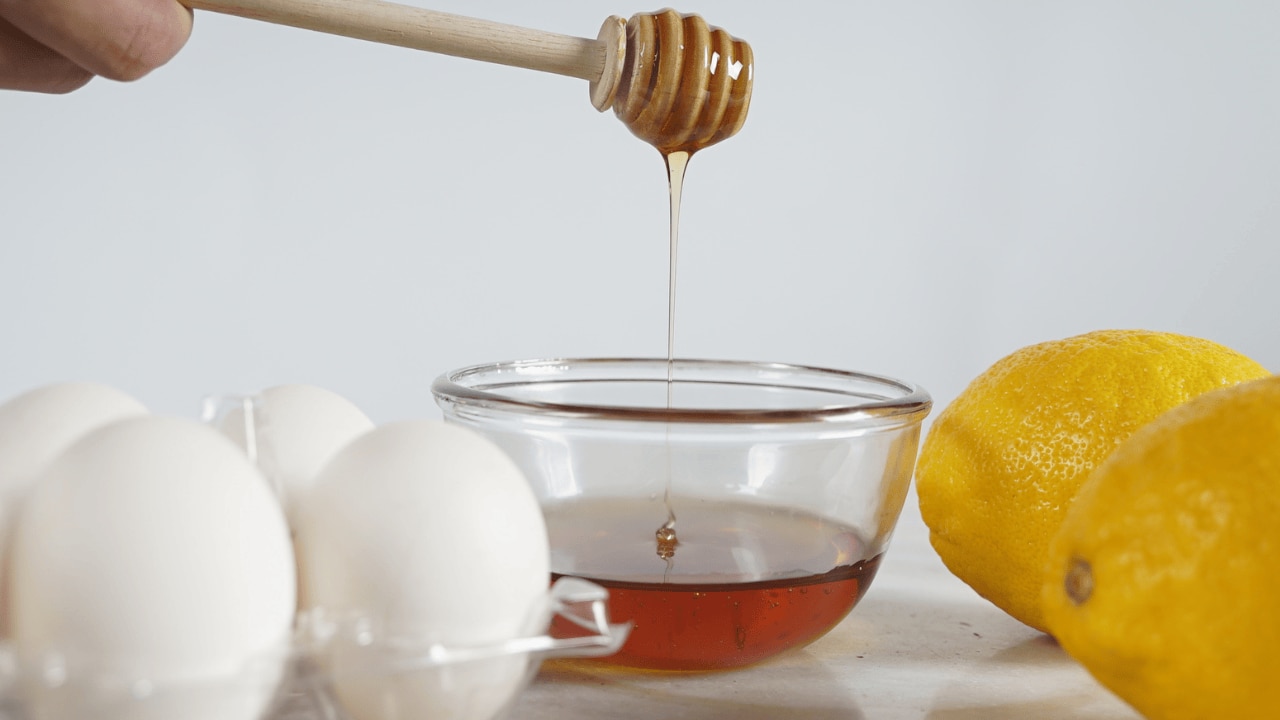
This natural face mask for glowing skin is a classic for good reason. Honey is a natural humectant, which means that it draws and retains moisture to the skin, while egg whites minimise pores and offer a temporary lifting effect. Egg yolks are packed with vitamins and fatty acids, nourishing and softening the skin. To make this mask at home, blend one egg white (or the whole egg for added nourishment) with a tablespoon of honey. Apply the mask to your face and neck, avoiding the eye area. Leave it on for 15-20 minutes until it dries, thereafter, wash it off with warm water followed by a cold water splash to tighten pores.
3. Exfoliating Gram Flour (Besan) Mask for Clear Skin
-mask.jpeg)
Gram flour or besan, is a traditional Indian beauty ingredient. This homemade face pack for instant glow and fairness acts as a mild exfoliator, getting rid of dead skin cells and cleaning pores. It also manages oil production and brightens the skin. To make this DIY mask, combine two tablespoons of gram flour with a dash of milk or rose water to form a smooth paste. Apply the mask to your face and neck, massaging slowly in circular motions. Let the mask dry for 15 minutes before washing it off with water.
4. Brightening Turmeric Mask for Radiant Skin

Turmeric is an antioxidant and anti-inflammatory spice, which is great for skincare. It minimises acne, evens out skin tone, and gives your complexion a healthy glow. To make your own brightening turmeric mask for glowing skin, combine a teaspoon of turmeric powder with a tablespoon of yoghurt or honey to create a paste. Apply the mask on your face, avoiding the eye area. Leave it on for 10-15 minutes, thereafter wash it off carefully with warm water. Follow with a mild cleanser or face wash to get rid of any residual yellow hue.
5. Nourishing Avocado Mask for Deep Hydration
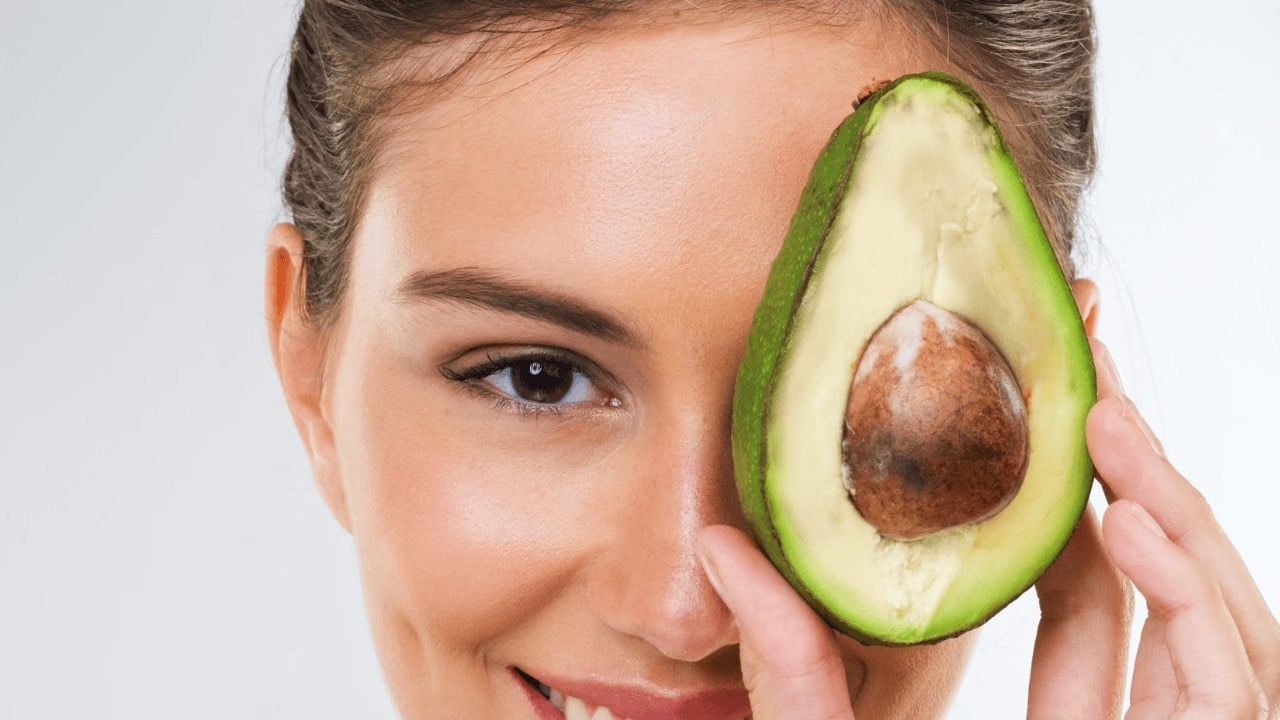
Avocado is rich with healthy fats, vitamins, and antioxidants, which deeply hydrate and nourish the complexion. This mask is perfect for dry, dehydrated skin. To make it at home, mash half an avocado and apply it directly to your face. For additional hydration, you can also add a bit of honey or olive oil. Leave the mask on for 15-20 minutes before washing off with warm water.
6. Cooling Cucumber Mask for Refreshing Skin
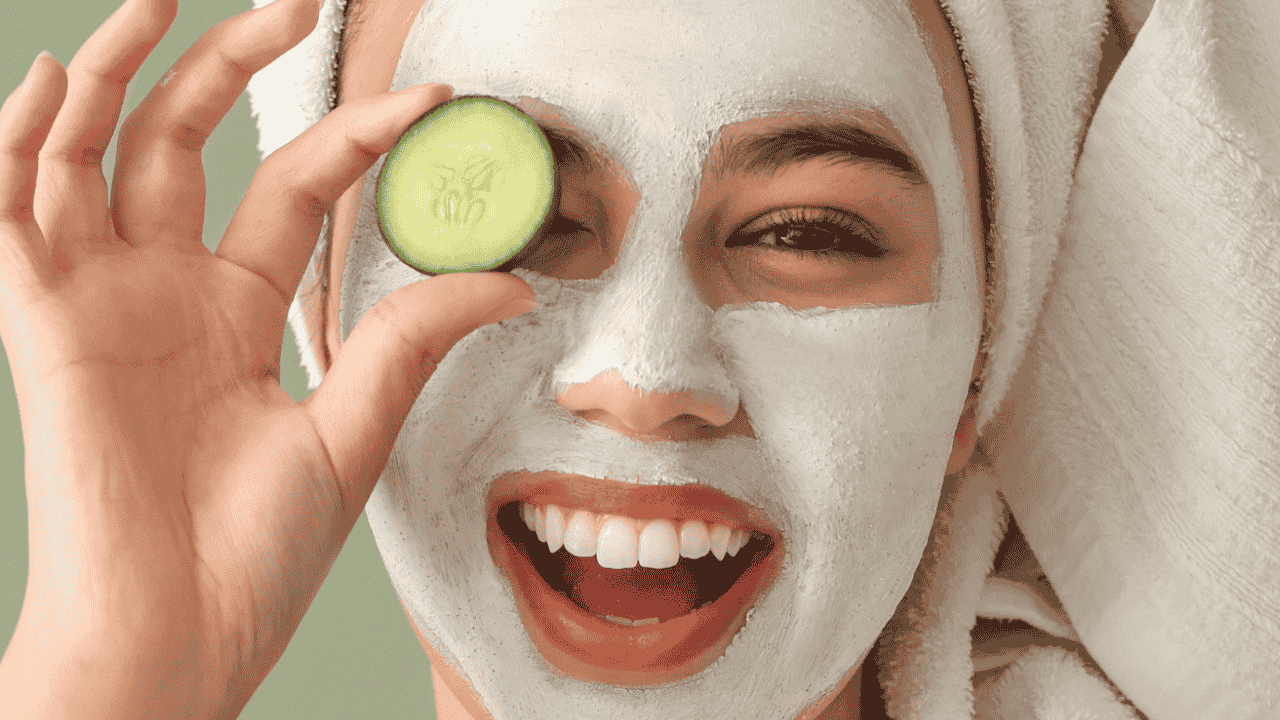
Cucumbers have a cooling and calming effect on the complexion. They have antioxidants and minimise puffiness and dark circles under the eyes. This mask is great for rejuvenating tired skin. To make this mask, mash half a cucumber into a paste. Apply the paste to your skin and leave it on for 15-20 minutes. Furthermore, you can also keep cucumber slices over your eyes for added relaxation. Finally, wash off the mask with cold water.
7. Gentle Yoghurt Mask for Soft Glowing Skin
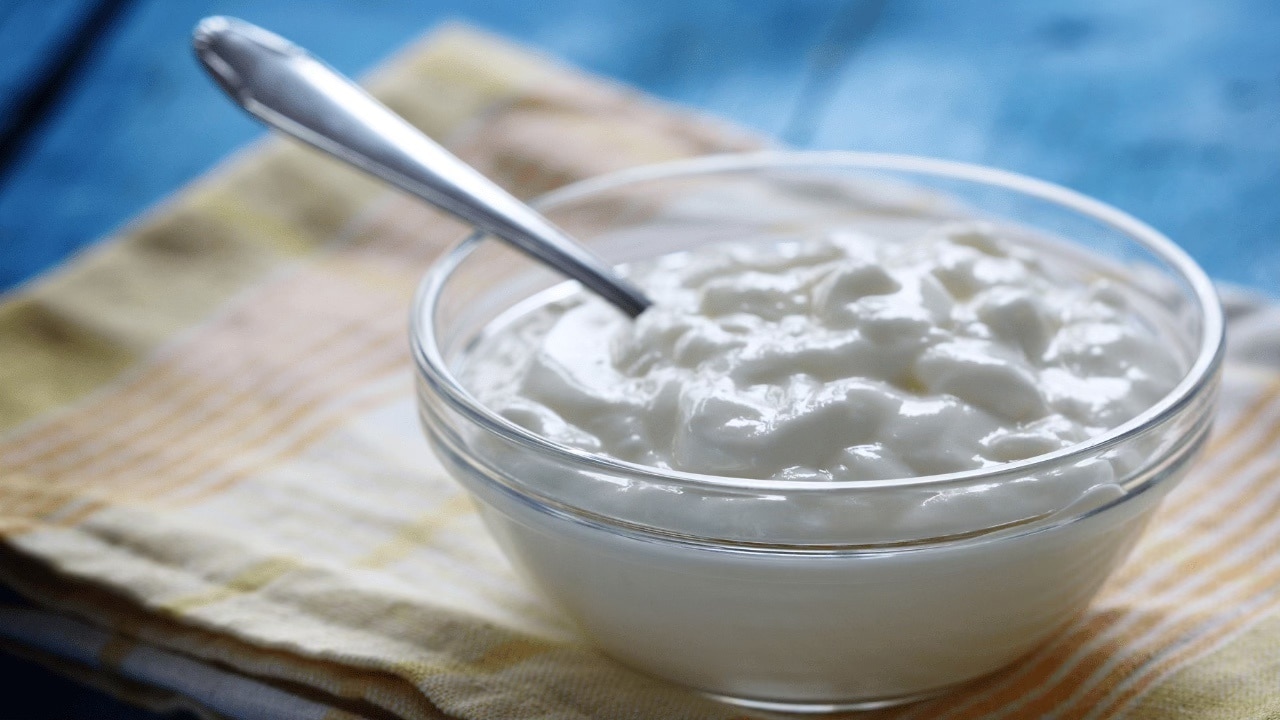
Yoghurt consists of lactic acid, a mild alpha-hydroxy acid (AHA), which exfoliates the complexion and boosts cell turnover. It also hydrates and calms the skin. To make this mask, apply plain yoghurt directly to your skin. Alternatively, you can add a teaspoon of honey or a few drops of lemon juice for additional benefits. Leave this mask on for 15-20 minutes before washing it off with warm water.
8. Cleansing Multani Mitti (Fuller's Earth) Mask for Oil Control
-Mask-for-Oil-Control.png)
Multani mitti, or Fuller's Earth, is a clay that gets rid of excess oil and dirt from the skin. It's especially great for oily and acne-prone skin. To make this mask, simply combine two tablespoons of multani mitti with rose water or plain water to create a smooth paste. Use the mask on your face and neck, avoiding the eye area. Let the mask dry completely before washing it with water. Follow this mask with a moisturiser, as clay masks tend to be drying.
How to Apply a Face Mask for Best Results
1. Cleanse Your Skin
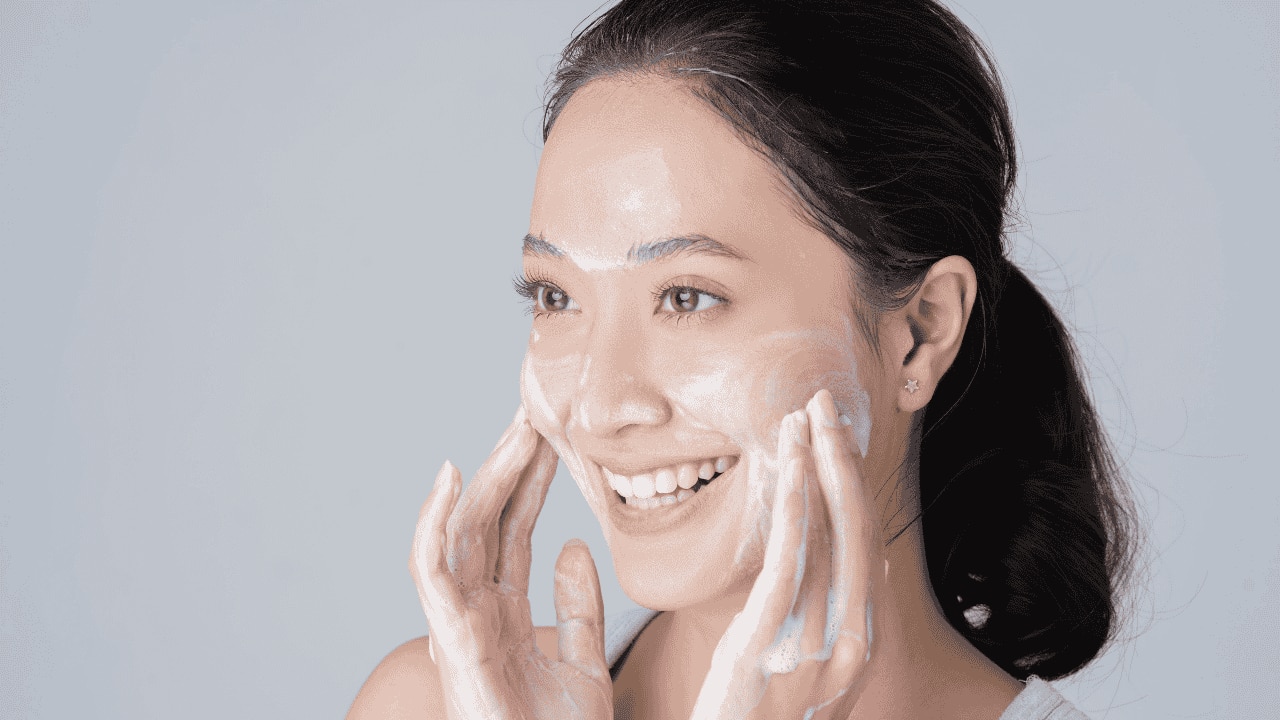
Start by washing your face with a gentle cleanser to remove dirt, oil, and makeup. This ensures the mask can penetrate your skin better.
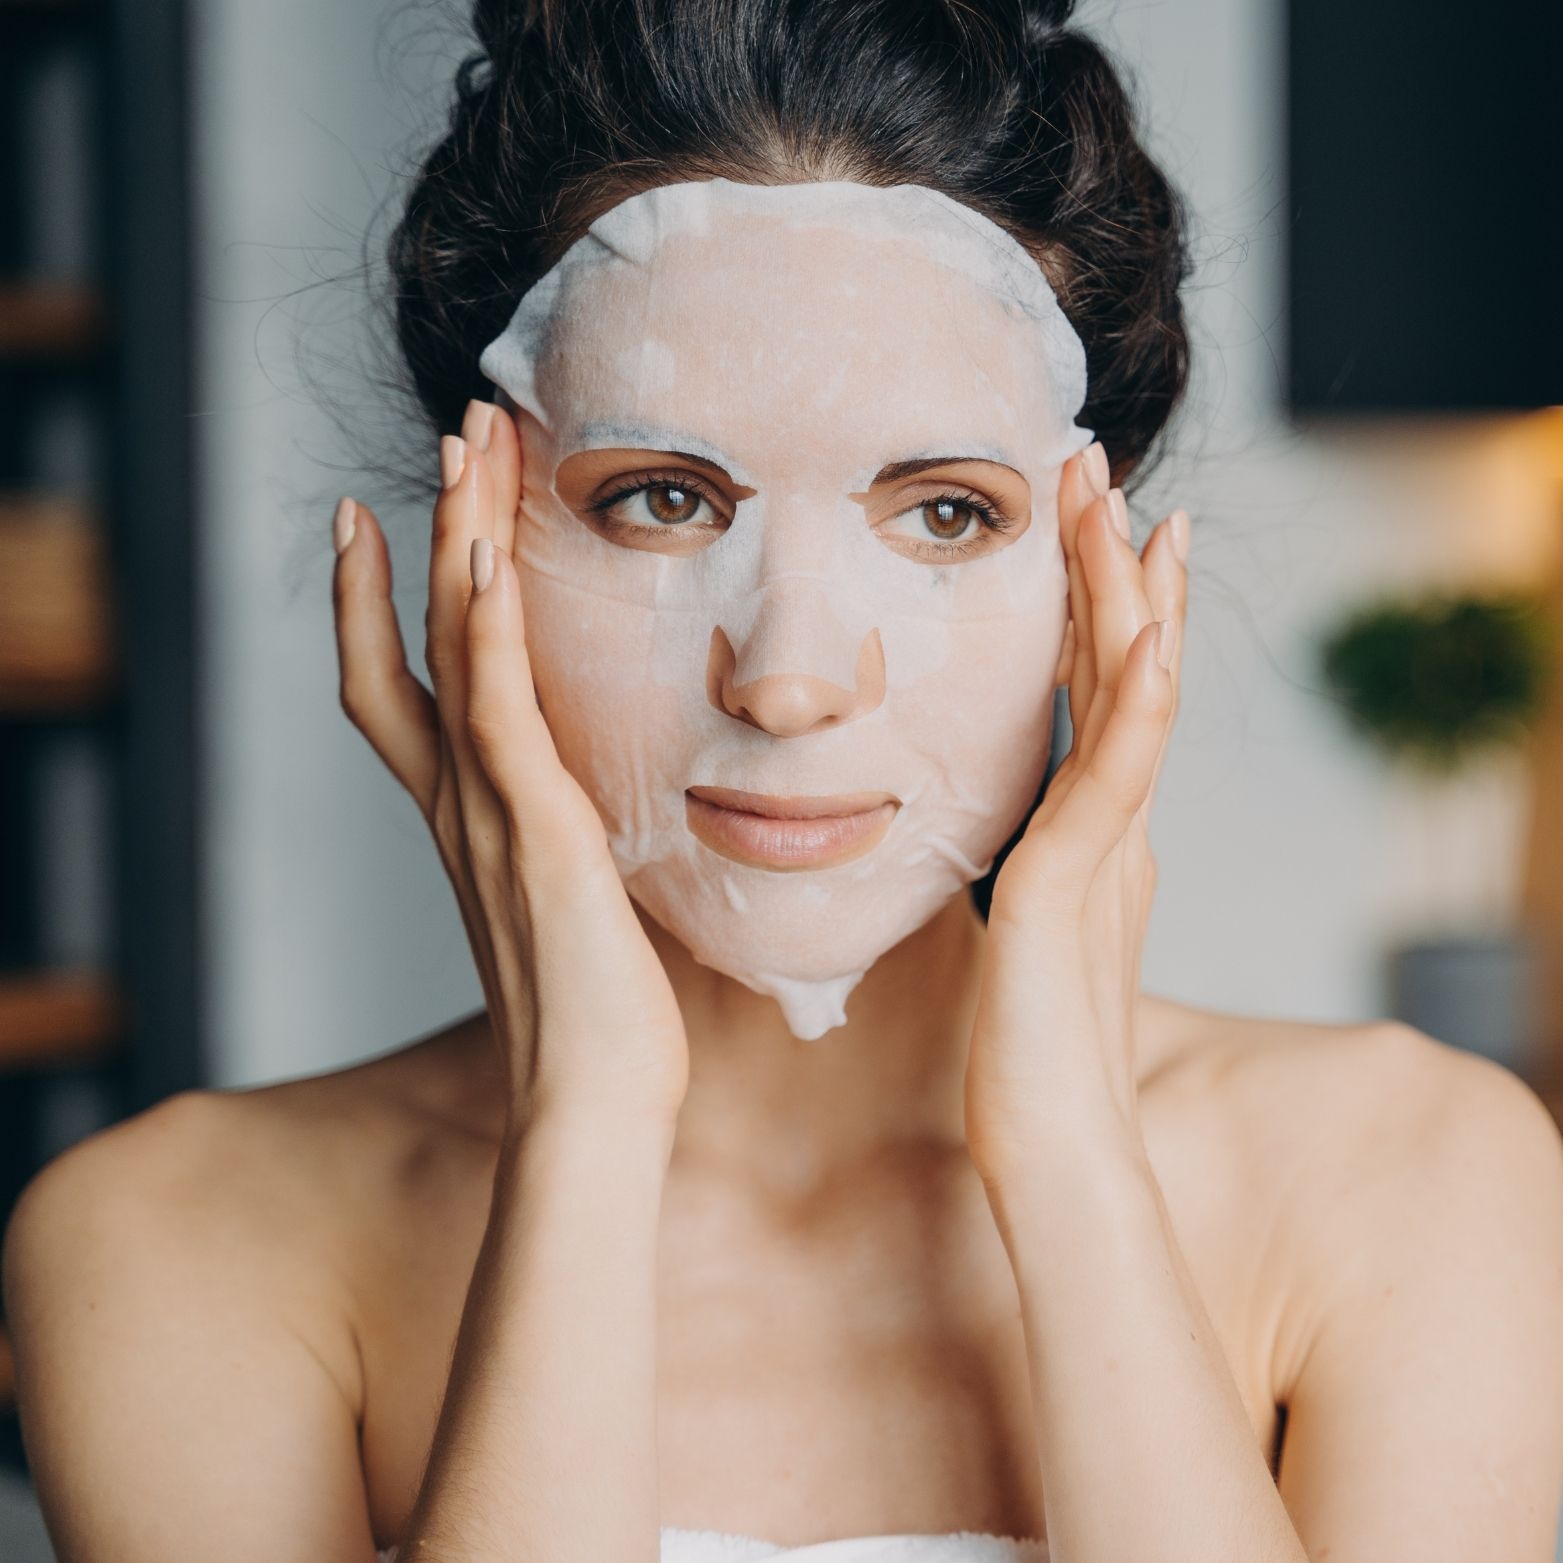
2. Exfoliate (Optional but Beneficial)
.png)
Use a mild exfoliator to remove dead skin cells and allow the mask to work more effectively. Exfoliating 1–2 times a week is ideal.
3. Prepare the Mask
Follow the instructions on your mask. If it’s a sheet mask, remove it from the packaging. For clay, cream, or gel masks, scoop the product onto your fingertips.
4. Apply the Mask Evenly
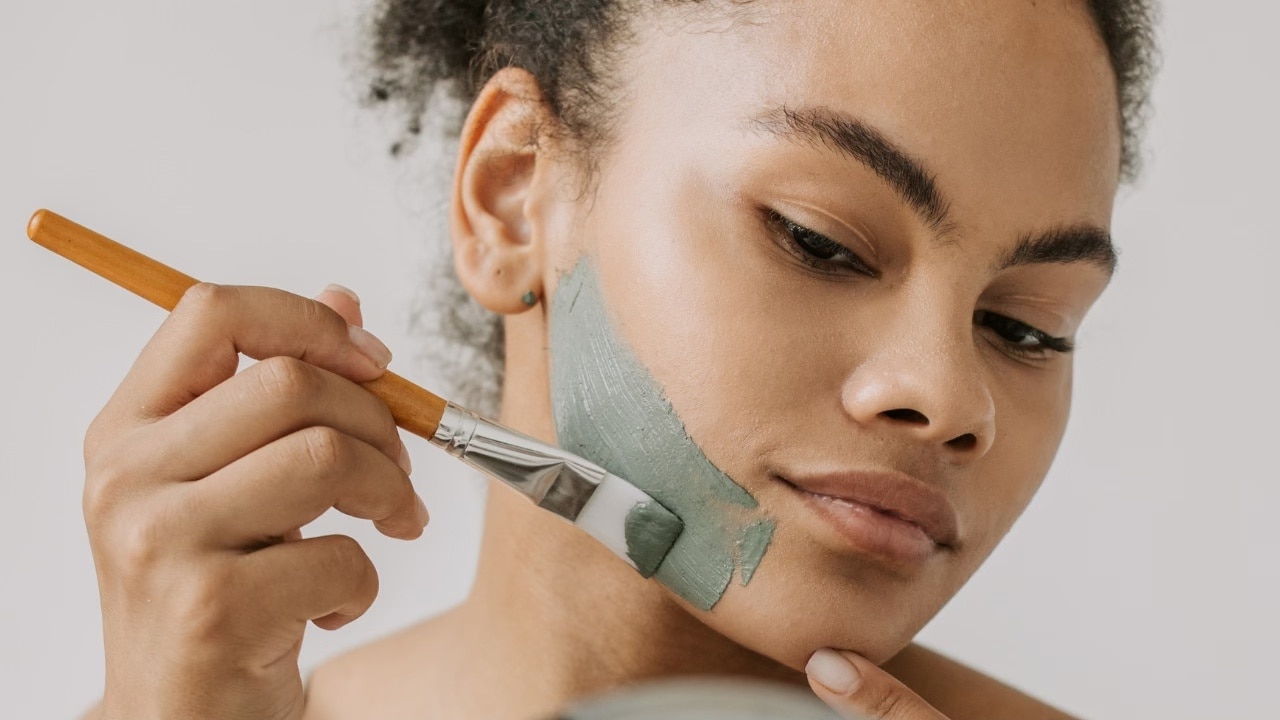
Using your fingers or a brush, apply an even layer of the mask onto your face, avoiding the eyes and mouth. Make sure not to use too much product.
5. Relax and Let It Sit

Allow the mask to sit for the recommended time (usually between 10-20 minutes). Avoid leaving it on longer, as this can dry out your skin or cause irritation.
6. Remove the Mask
If it’s a wash-off mask, gently rinse with lukewarm water. For sheet masks, simply remove it and discard. Gently pat your face dry with a clean towel.
7. Follow Up with Skincare
After removing the mask, follow up with your usual skincare routine: toner, serum, and moisturizer to lock in hydration and maintain the benefits of the mask.
8. Use Regularly

For best results, use the mask 1–3 times a week, depending on your skin type and the mask’s purpose.
By following these steps, you can maximize the effectiveness of your face mask and enjoy the best possible results!
Common Mistakes to Avoid When Using DIY Face Masks

1.Not Doing a Patch Test : Always do a patch test before applying a DIY mask to your whole face. This helps you avoid potential allergic reactions or irritation.
2. Using Harsh Ingredients : Avoid using ingredients that can irritate your skin, such as citrus, raw honey, or strong spices, especially if you have sensitive skin.
3. Overusing the Mask : Using DIY masks too frequently can strip your skin of its natural oils or cause irritation. Stick to the recommended frequency (1-2 times a week).
4. Applying the Mask to Dry Skin : Don't apply a mask to dry skin without cleansing first. Clean skin allows the mask to work more effectively and ensures it doesn't mix with leftover makeup or dirt.
5. Leaving the Mask on Too Long : Leaving the mask on longer than recommended can lead to dryness or irritation. Follow the instructions for the suggested time.
6. Over-Applying the Mask : Applying a thick layer may seem like it will be more effective, but it can actually prevent the mask from working properly. Use a thin, even layer.
7. Using the Wrong Ingredients for Your Skin Type : Tailor the ingredients to your specific skin needs. For example, avoid drying ingredients like clay masks if you have dry skin, and opt for hydrating ingredients instead.
8. Not Removing the Mask Properly : Some masks need to be rinsed off with warm water, while others can be peeled away. Make sure you remove the mask according to its instructions for the best results.
9. Skipping Moisturizer After Use : After using a DIY mask, always follow up with a moisturizer to lock in hydration and restore balance to your skin.
10. Expecting Instant Results : DIY masks take time to show results. Be patient and consistent, and avoid overdoing it for quicker outcomes.
While using new ingredients for skincare, it’s advisable to always do a patch test, particularly if you have sensitive skin. These DIY face masks are an excellent way to pamper your complexion naturally and achieve acne-free, radiant skin. Try different masks to find what works best for your skin type and issues. If you have additional questions or concerns about homemade masks for skincare, consult a dermatologist.
FAQs on Homemade Face Masks
Q1. How long should I leave a face mask on?
A. Typically, leave a homemade face mask on for 10–20 minutes. Follow the instructions of your specific mask, as leaving it on for too long can cause irritation or dryness.
Q2. Can I use a homemade face mask daily?
A. It's not recommended to use homemade face masks daily. 1–2 times a week is ideal to avoid over-drying or irritating your skin.
Q3. What is the best time to use a homemade face mask for glowing skin?
A. The best time to apply a homemade face mask is in the evening, after cleansing, when your skin is relaxed and has absorbed all the day's dirt and impurities. This helps enhance the glowing effect.


 BePicks


 Privacy Notice